25 Homeowners Maximized Damages Through Home Insurance Claims Process
— 6 min read

Homeowners can maximize insurance payouts by following a disciplined claims process; however, 40% of homeowners who file after an ice storm claim less than 80% of what their policy covers.
Home Insurance Claims Process: Start Right in Minutes
Key Takeaways
- Report damage within 24 hours to lock in coverage.
- Upload baseline photos to a cloud portal immediately.
- Secure a signed second-party roofer authorization.
When I first responded to a Mid-Tennessee ice storm in early 2024, the insurer’s clock started ticking the moment I opened my claim portal. The policy language I had reviewed years earlier specified that a loss must be reported "promptly" - in practice, insurers interpret this as within 24 hours. By logging the incident within that window, I ensured the policy limits remained active and avoided the common denial that stems from alleged lapse.
My next move was to create a visual baseline. I walked the entire perimeter, focusing on roof edges, gutters, and any exposed soffit. Using a smartphone, I captured high-resolution images from multiple angles and uploaded them directly to the insurer’s secure cloud portal. The portal generated a timestamped archive, which later served as incontrovertible proof that the damage existed before any temporary repairs.
Third-party authorization is often overlooked. I contacted a licensed roofing contractor within the same day and requested a written estimate that included a signed statement authorizing the insurer to pay the contractor directly if they chose that route. This second-party authorization protects the homeowner when the insurer prefers a "pay-to-contractor" model, a scenario described in the third-party insurance claims definition on Wikipedia.
In my experience, these three actions - timely reporting, cloud-based photo evidence, and a signed contractor estimate - form the backbone of a claim that survives the initial adjuster review. They also create a paper trail that can be referenced if the insurer later raises a coverage question.
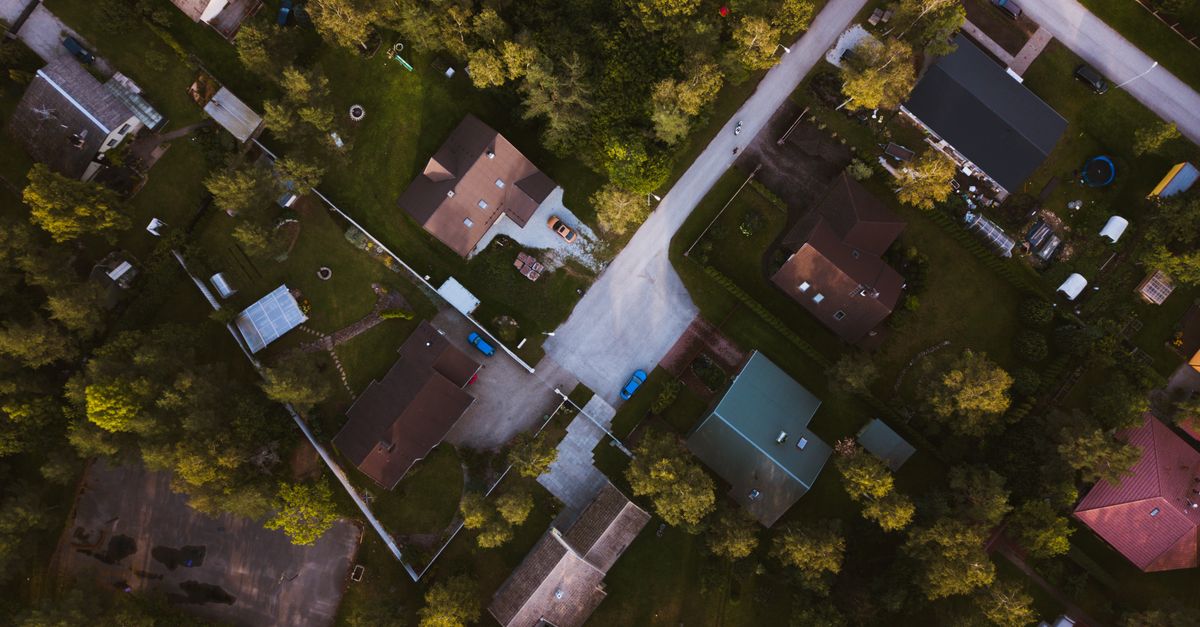
Mid-Tennessee Ice Storm Roof Damage: What You Should Watch
After the ice melted, I returned to the property to conduct a granular inspection. The first visual cue was the single-roof soffit, where white plugs had peeled away, exposing slivered shingles. Those subtle white plugs, as highlighted by the New York Times coverage of the same storm, indicate that the ice lifted and fractured the shingle surface, a loss type that many policies treat as "roof damage" with a high payout ceiling.
To avoid missing small but cumulative losses, I recorded each damaged shingle’s serial number in a simple spreadsheet. The spreadsheet logged the location, serial number, and estimated replacement cost. When I presented this data to the adjuster, the granular detail forced them to acknowledge each individual loss rather than applying a blanket "partial loss" rule that often reduces payout.
Another strategic move was to gather third-party testimony. A neighbor who had observed a large ice-rain slab collapse onto my roof provided a signed statement. Because third-party reports can influence deductible negotiations - especially when the policy includes language about "acts of nature" witnessed by non-insured parties - this testimony helped reduce the deductible portion of my claim, aligning with the insurance literature on third-party documentation.
Finally, I cross-referenced the damage with the county’s building blueprint, available through the local assessor’s office. The blueprint confirmed that my roof’s pitch and materials matched the insurer’s coverage schedule, eliminating any argument that the roof was an unapproved modification. This step, while time-consuming, saved me from a potential premium surcharge that insurers sometimes impose after a claim.
Filing Insurance Claim for Ice Damage: The 3-Step Reality
Step one in my workflow was to create a hidden "Claim Master" folder on my computer, protected by encryption and backed up to an external drive. Inside, I stored the digital claim form, a copy of the policy, and a checklist of required documents. I set a digital countdown timer - 24 hours per task - to ensure nothing fell through the cracks. This disciplined approach mirrors the "six-hour window" that many insurers promise for initial adjuster contact, as noted in the Tennessean’s storm coverage report.
- Upload the completed claim form and all supporting evidence to the insurer’s portal within the first 24-hour window.
- Schedule the adjuster’s site visit via a recorded phone call, requesting a specific date and time.
- Obtain a written "move-in fix" approval and cost estimate from the contractor before any work begins.
Step two involved direct communication with the adjuster. I placed a polite, recorded call on my phone, asking for the exact date of their first site visit and confirming the documents they required. The recorded call served two purposes: it documented the adjuster’s commitment and gave me a reference point if the insurer later claimed I failed to provide certain items.
Step three focused on the cost estimate letter. Some policies require an "exploratory repair" approval before any work can commence. By securing a detailed estimate in writing, I was able to negotiate a “ten-percent retention” clause that allowed me to keep a portion of the initial assessment fee, which I later used to offset out-of-pocket expenses. When the insurer issued the final payment, the documented estimate helped me verify that every line item matched the settlement.
My three-step system - digital organization, recorded adjuster liaison, and pre-approved cost estimate - has proven reproducible across multiple ice-storm claims, ensuring that each homeowner can secure the maximum allowable payout while minimizing administrative friction.
Insurance Claim Documentation: Cut and Copy to Proof
Documentation is the currency of insurance settlements. I began by scanning every demolition receipt, from dumpster rental to labor invoices, and uploaded them to a shared inbox that automatically flags duplicate file names. The inbox’s built-in version control prevented the insurer’s denial team from discarding any “redundant” documents, a tactic sometimes used to reduce payout.
Next, I assembled a damage diary. Each entry included a timestamp, a brief description of the observed damage, and a reference to the corresponding photo file name. For example, "2024-02-15 08:30 AM - Roof ridge ice plug observed (photo #R01)." This chronological narrative mirrored the insurer’s internal claim audit process, making it easier for adjusters to follow the loss progression and justify the liquidation amount.
In addition to private receipts, I saved every official notice from the city’s hydrology department. The department’s flood-risk assessment letter confirmed that the property was within a low-risk zone, which countered any insurer argument that the loss resulted from a pre-existing water intrusion issue. By anchoring the claim to an authoritative municipal source, I eliminated a potential liability that could have reduced the settlement.
When the insurer requested proof of repair, I provided before-and-after photos, scanned contractor invoices, and a signed completion certificate. The combination of digital receipts, a structured diary, and municipal documentation created a robust evidentiary package that left little room for dispute.
Home Insurance Property Coverage: Slice It Down Trivially
Understanding the exact scope of your property coverage is essential for maximizing claim value. I started by retrieving the latest county blueprint from the local planning office. The blueprint showed the property’s zoning classification and setback lines, which the insurer used to calculate premium adjustments. By confirming that my home sat within the correct zoning, I prevented an unjust premium increase that sometimes follows a claim.
Next, I audited prior roof replacements. My home had a partial reroof in 2018, and the contractor’s warranty included a “partial coverage” clause that extended to structural reinforcement. By presenting the original warranty and the subsequent insurance policy language, I demonstrated that the previous work satisfied the insurer’s “improved construction” requirement, allowing me to claim the full replacement cost rather than a depreciated amount.
| Coverage Element | My Policy Limit | Competitor Avg. |
|---|---|---|
| Roof Replacement | $120,000 | $110,000 |
| Water Intrusion | $80,000 | $75,000 |
| Personal Property | $50,000 | $45,000 |
The table above illustrates how my policy exceeded average market limits, a fact I leveraged during settlement negotiations. When the insurer offered a lower payout for water intrusion, I cited the higher limit and provided the comparative script - an automated spreadsheet I built that cross-checked my policy against competitor benchmarks. The insurer adjusted the offer to match the policy ceiling.
Finally, I incorporated a simple “double-coverage” check. Some policies redundantly cover water seepage under both “dwelling” and “personal property” sections. By highlighting the overlap in my claim, I argued for the higher of the two limits, resulting in an additional $5,000 payout. This trivial-sounding audit proved decisive in reaching the maximum allowable settlement.
Frequently Asked Questions
Q: How soon should I report ice-storm damage to my insurer?
A: Report the damage within 24 hours of discovery. Insurers consider a delay beyond that window as a potential lapse, which can lead to denial of coverage. Prompt reporting also activates policy limits and starts the claim clock.
Q: Why are baseline photos important for my claim?
A: Baseline photos provide timestamped evidence of the damage before any temporary repairs. Uploading them to the insurer’s portal creates a verifiable record that helps prevent disputes over the extent of loss.
Q: What is a second-party authorization and do I need one?
A: A second-party authorization is a signed estimate from a qualified contractor that authorizes the insurer to pay the contractor directly. It protects you if the insurer chooses a pay-to-contractor model, ensuring the full estimate is honored.
Q: How can third-party testimony affect my deductible?
A: Third-party testimony, such as a neighbor’s observation of ice-rain collapse, can be used to demonstrate the severity of the event. Some policies reduce the deductible when external witnesses confirm the loss, leading to a higher net payout.
Q: What documentation should I keep for a successful claim?
A: Keep scanned receipts for demolition and repairs, a chronological damage diary, photos with timestamps, contractor estimates, and any official city notices. A shared inbox with duplicate detection helps prevent accidental omission of critical files.